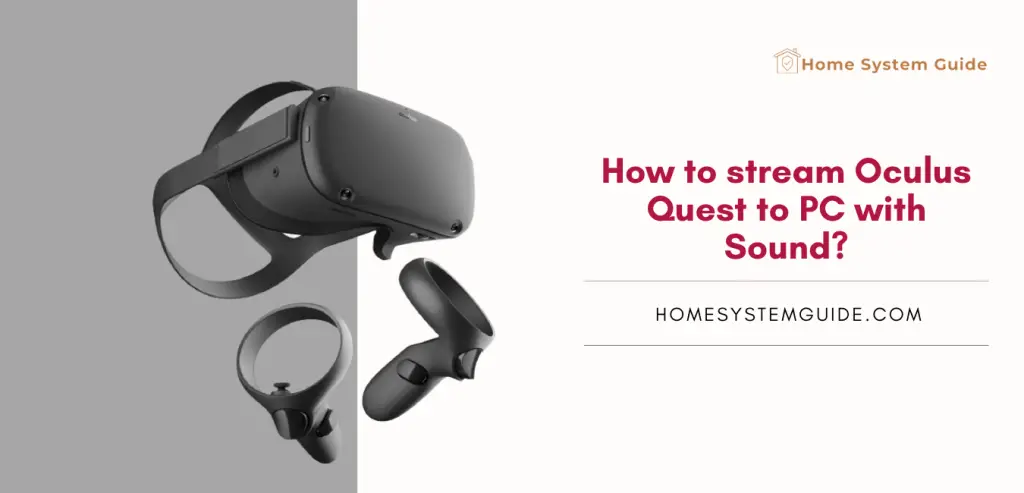
Oculus Quest is the buzzword when comes to VR headsets of the current time. The Oculus Quest has gone through a series of major upgrades over the years and currently Oculus Quest 2 rules the VR arena.
See Also: Connect and cast Oculus Quest 2.0 to Apple TV
Since it is the most popular choice of the gamers and entertainment buffs like me, we would like to record our gameplay or stream the content on another screen to show to our friends at times. This is where Casting comes in. If you own an Oculus Quest 2 VR headset and are trying to figure out how to cast or stream the contents from your Oculus Quest 2 VR headset to your PC with audio, this guide is just for you!!
Streaming Oculus Quest 2 to PC using Browsers
It is straightaway simple to stream your Oculus Quest 2 to your PC via your favorite internet browser. Here are steps to follow for a seamless experience.
- WiFi or Internet Connection: Make sure that both your PC and Oculus Quest 2 VR headsets are connected to the same WiFi network or are using the same internet connection. This is compulsory.
- Choosing a great Browser: While there are numerous browsers for PC, the best ones for seamless casting are Google Chrome and Microsoft Edge that provide uninterrupted streaming for Oculus Quest 2 VR headsets. So, it is time to choose one of these two if you don’t use either of them. If you are already using one of them then you are good to go.
- Visit the Oculus Website: Once the browser is all set, visit the Oculus Website and log in to your Oculus account. Select the Casting receiving option and you will land on the page for the casting.
- Start Sharing from your Oculus Quest 2: Wear the Oculus Quest 2 headset and use the Trigger to find the “Sharing” option on your Virtual screen. Select the particular option.
- Start Streaming or Casting: Choose the Cast option from the Sharing menu by clicking on it using the trigger. A pop-up will appear that gives you the list of all available devices where you can cast your VR content. Select your PC from the list of devices. Once you select it, you will get a notification on the lower section of the VR screen on your Oculus Quest 2 saying you are now casting.
- Go back to your browser on your PC: Make sure the casting is working fine on the Chrome or Edge browser. You will be able to see the same content from your VR headset on your PC screen. Depending on your internet connection, you will get great video and sound from the gameplay and movies. But there won’t be any audio from the microphone
Streaming Oculus Quest 2 to PC with Sound (Microphone Audio Included)
The conventional way of casting your Oculus Quest 2 VR headsets to your PC is easy and works great for most situations. You will be able to share your content like games and movies with your friends in a room. But when it comes to streaming and content creation where your audio input through the microphone is rather vital, the straightforward casting method is no good.
Luckily, there is an alternative to solve this issue. Here are the exact steps to follow.
- Visit the Microsoft Store: Again, make sure both your PC and Oculus Quest 2 VR headsets are connected to the same WiFi network. Click on the Start Menu on your Windows PC and go to Microsoft Store.
- Find and Install AirReceiver: Search for the AirReceiver app on the search bar of Microsoft Store. Once you find it, click on install and wait while the installation is complete.
- AirReceiver comes at a price of around $5. But with occasional sales and offers, you can get it for around $3. This is one of the most affordable options for casting your Oculus Quest 2 VR headset to your PC with Audio.
- Open and set up the AirReceiver application: Once the installation is complete, open it. Once you give a name there, it is ready to accept all streaming and casting requests. You will be able to see a “ready to accept mirror” notification along with a “waiting” message with a circular outline.
- Select your PC from your Oculus Quest 2 headset for casting: Once again, go to the sharing option on your Oculus Quest 2 headset VR interface and select cast. Select your PC from the list of the available devices.
- Start Casting: Once you select your PC from the list of devices, a notification pops up on your VR interface saying it is casting to your PC. With AirReceiver, the quality of casting or streaming is much higher than any other app or method. You will get all the sounds from gameplay, movies, and your Microphone.
Things to keep in mind while Streaming your Oculus Quest to your PC
- You will need a high-speed internet connection for great streaming. Bad internet interrupts the streaming and you might experience substantial lags in the video and audio
- Make sure your internet router is of great quality as sometimes great internet speed is worsened by an outdated router
- You can always use a WiFi booster or Extender in case your router is far from your PC desk. These handy devices enhance the WiFi signal and you will get a fast and stable internet speed.
This ends the guide to Stream your Oculus Quest 2 VR headsets to your PC with audio or sound. I hope these detailed steps have helped you in solving your issue. There are other alternatives to AirReceiver but the quality of the stream is subpar. So, it is recommended to go with it.

